How to Install Vinyl Plank Flooring in Kitchen
In this very article we will learn how to install Vinyl Plank Flooring in a Kitchen step-by-step. Just follow the guide beneath and learn.
Why Choose Vinyl Plank Flooring?
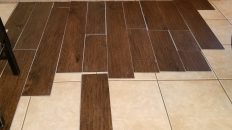
There are many reasons to like luxury-vinyl-plank (LVP) flooring. It looks like tile or wood but is more affordable and simpler to install, and it’s waterproof, durable, and easy to clean. Its VOC levels are very low—far below the thresholds to meet green certification—and if you are concerned about exposure to phthalates (in plasticizers), you can find planks that don’t contain those chemicals.
CAUTION: Vinyl-sheet and vinyl-tile flooring installed before 1986 is likely to contain asbestos, as are the flooring adhesives used to hold them down. While it’s safe to lay new flooring over vinyl-laced asbestos, it’s definitely not safe to cut into or pull up asbestos flooring; doing so could send its lung-damaging fibers into the air. If your vinyl flooring dates back to that era, or you are unsure of its age, have it tested before doing any work. Search “asbestos abatement” online to find local contractors who are trained and equipped to test for and safely remove flooring that contains asbestos.
How to Replace a Vinyl Kitchen Floor with Plank Flooring
Step 1:
Remove any furniture, appliances, and floor or wall vents from the room.
Be sure to shut off any gas lines you might need to disconnect beforehand.
Step 2:
Use a utility knife to score along the top of the baseboards to separate them from the wall surface.
Carefully slip the pry bar behind the baseboards and remove them. Number each baseboard so you know where they go when it’s time to reinstall them.
Step 3:
Assess the existing floor
If there are multiple layers of vinyl flooring with thin sheets of luan underneath, it may be best to cut the floor into small, manageable pieces for easier removal.
Wearing a dust mask and a pair of safety glasses, cut squares between 1 and 2 feet wide. Be sure to set the saw’s depth of cut so it doesn’t cut through the subfloor. With all the squares cut, remove them with a pry bar and hammer.
Step 4:
Prepare the first few rows of flooring.
For the first row, use a full plank. For the second row, cut ⅓ off of the plank with the flooring cutter or miter saw. For the third row, remove ⅔. You’ll repeat this process for the first piece in each row as you move across the room as this staggers the joints and provides a more appealing aesthetic.
Step 5:
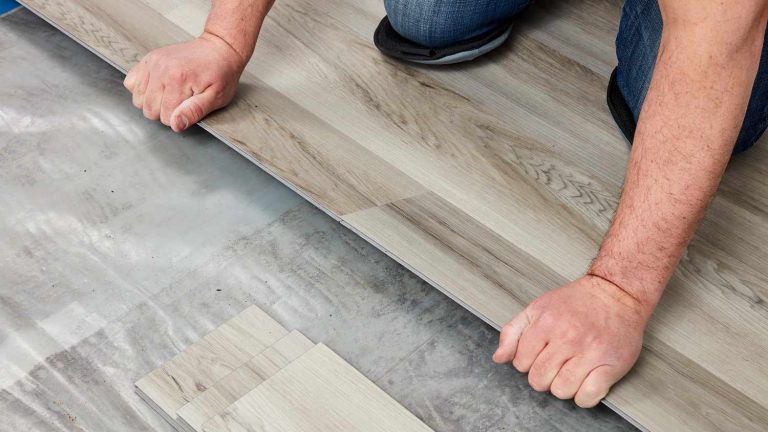
Lay the first piece on the floor and place spacers between it and the wall
Slide the tongue of the second row into the groove of the first row. Use the tapping block and rubber mallet to tap the piece securely into the groove and close the gap.
Continue across the floor, placing spacers between the wall and any planks along the edge of the floor.
Step 6:
As you meet cabinets, you’ll have to start making custom cuts
Take careful measurements and transfer them to the vinyl planks. Cut these pieces to fit with a jigsaw and tap them into place with the tapping block.
For rows that end in front of cabinets or far walls, hook the end of the plank with the pull bar and tap it until the gaps close. Be sure to leave a ¼-inch gap between the end of the plank and the wall or cabinet.
Step 7:
Install transition pieces and thresholds at the doors
Cut them to length with the miter saw or flooring cutter and lay them in a bead of construction adhesive.
Step 8:
Reinstall the floor and wall vents and the baseboards before replacing the appliances and furniture
For a more finished look, caulk the moldings and give them a fresh coat of paint.
Thanks for reading “How to Install Vinyl Plank Flooring in a Kitchen“